Have you ever wondered how coffee professionals evaluate coffee flavors with such precision? The secret lies in cupping, a simple yet powerful method that allows you to unlock the full scope of a coffee's taste profile, from sweetness and acidity to bitterness.
You don't need to be a barista to enjoy a structured coffee tasting at home. With a few simple tools and techniques, you can experience coffee in an entirely new way from the comfort of your home.
Start Your Coffee Tasting Journey Today! Grab your favorite beans and follow our step-by-step guide to experience coffee like never before.
Why is coffee cupping important?

Every coffee bean carries a unique story shaped by its origin, variety, processing method, and roast profile. Tasting coffee with intention helps you:
- Help you appreciate specialty coffee on a deeper level.
- Allow you to identify the differences between coffee origins and roasts.
- Improve your brewing skills by helping you understand how flavor develops.
How to Cup Coffee at Home
Coffee cupping is a professional tasting technique used to evaluate coffee quality, but you can easily do it at home with minimal equipment. First things first: you'll need a few essential tools. Don't worry—nothing fancy is required.
What You Need
- Coffee Beans: Freshly roasted and high-quality single-origin coffee beans unleash the character of distinct flavors from specific coffee-growing regions.
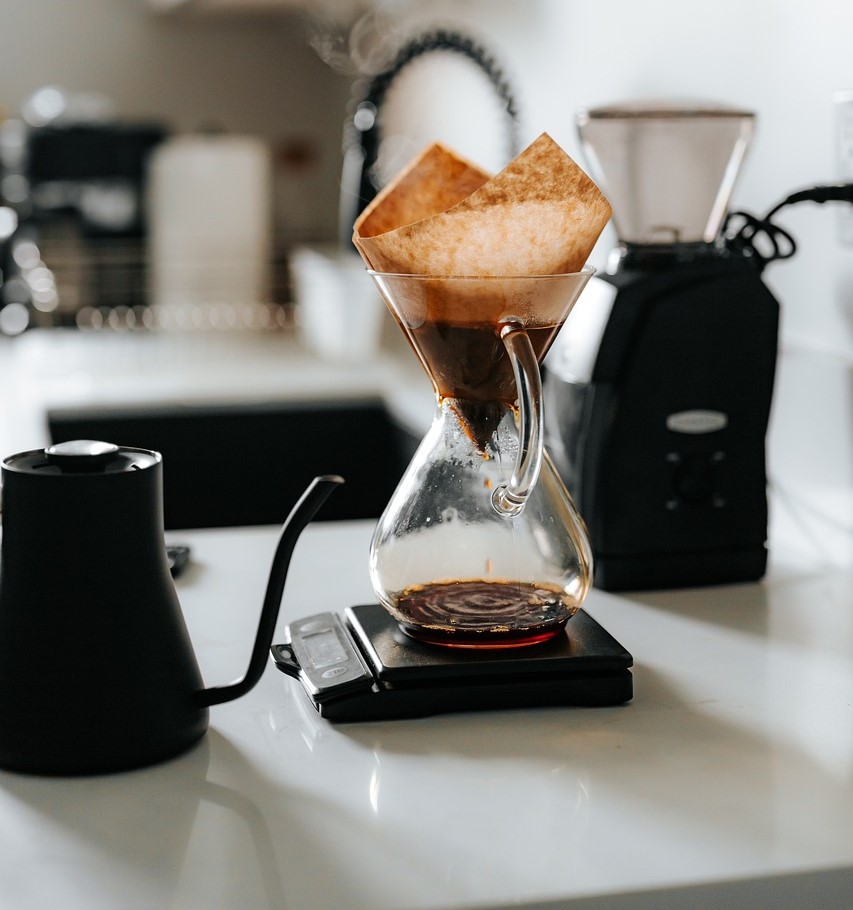
- A burr coffee grinder: While any coffee grinder may work, a burr grinder promises uniform results—target medium to coarse grind for better extraction.
- Digital Scale: It is essential to minimize errors in the coffee cupping ratio. An investment in a digital scale will give consistent or accurate coffee-to-water ratios.
- Hot Water (200°F): Heat clean filtered water to a range of 93-95°C. After heating, allow the water to cool for about two minutes before beginning the coffee cupping process.
- Cupping Bowls: We recommend using small glass or white ceramic cupping bowls with wide rims. Each coffee variety you assemble for tasting will need a single cup.
- Spoon: Cupping spoons are made of wide but shallow bowls to enable slurping coffee before tasting.
- Timer: Track your brewing and tasting times to understand your coffee's distinct notes or character.
- Notebook and Pen: Note down coffee characters such as aroma, body, mouthfeel, complexity, and sweetness of each variety you taste.
The Cupping Process: Step by Step

Now that you have the required equipment, it is time to flex your coffee-cupping skills. If you don't have any, worry not! The following is a step-by-step guide for cupping your coffee at home.
- Grinding: Target a medium-coarse consistency grind, similar to sea salt or breadcrumbs. We recommend a cupping ratio of 8.25g coffee per 150 milliliters of water.
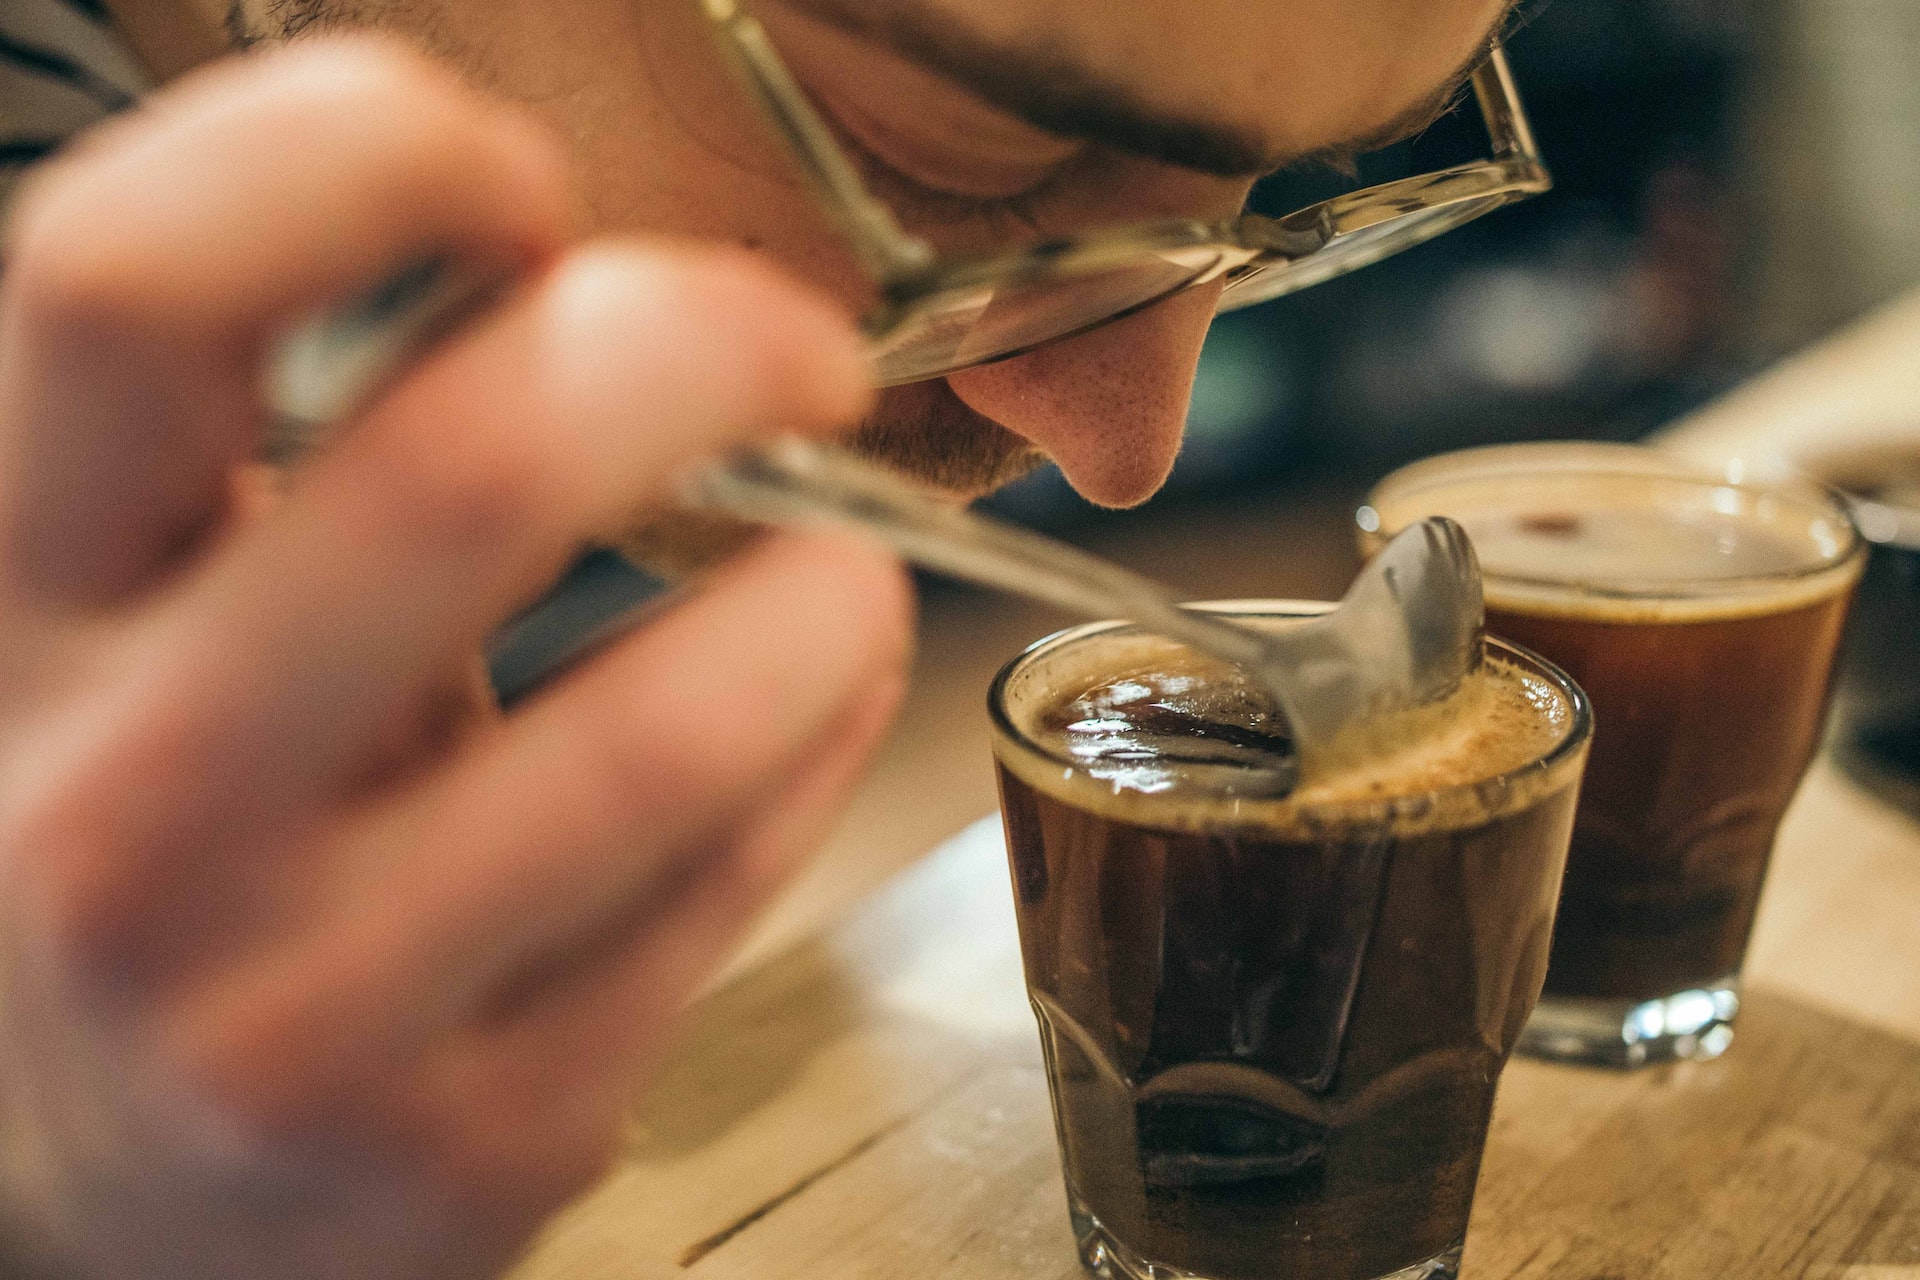
- Smelling the Grounds: Get an initial impression of the coffee's aroma by taking a moment to smell after grinding.
- Brewing: Put freshly ground coffee in each cup and pour hot water using the cupping ratio above. Allow the brew to steep for about 4 minutes.
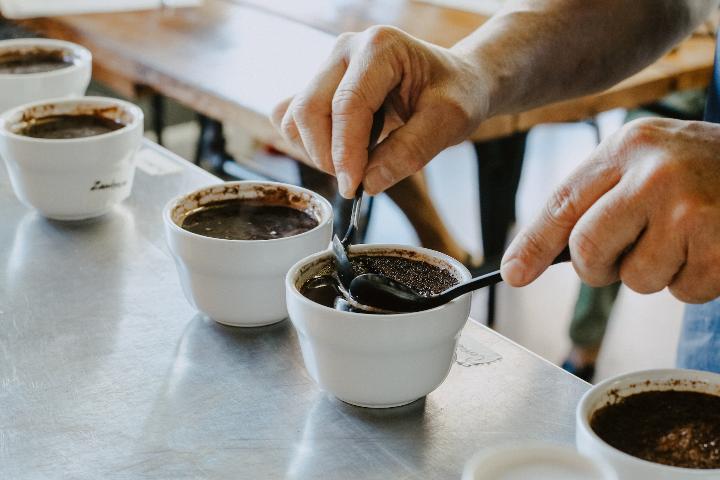
- Breaking the Crust: A critical aspect of coffee cupping evaluations is breaking the crust. After the coffee steeps, a crust will form at the top. You'll need a cupping spoon, and the purpose of the cupping spoon is to break the crust, taking note of the aroma that embraces your nose from each cup.
- Tasting: Take a spoonful of coffee and slurp it forcefully—yes, slurp! This spreads the coffee across your palate and aerates it, releasing more flavors. As you taste, note the flavor, body, acidity, and aftertaste. Use a scale of 1 to 10 to rate each attribute.
- Scoring and Note-Taking: Let the coffee coat your entire mouth. Where do you feel different sensations? Sweetness often appears on the tip of your tongue, while bitterness registers at the back. Pay attention to the aftertaste. How long do the flavors linger? Do they change over time? This is what professionals call the "finish." Record each observation of different coffees in your notebook.
- Repeat for Each Coffee: Take a sip of water or a break to cleanse your palate between tastings for accurate assessments.

Essential Terminology in Coffee Tasting
To taste coffee like a pro, you should familiarize yourself with key terms such as:
Sweetness
Sweetness varies depending on the coffee variety and processing method, the roast level (light roasts retain more natural sugars, darker roasts develop deeper caramelized notes), and your brewing technique (proper extraction enhances sweetness).
Take a sip and let it coat your tongue. Does it remind you of brown sugar, caramel, or dried fruit? Good coffee should have some natural sweetness.
Acidity
Don't confuse acidity with sourness. Think about how a fresh apple makes your mouth water—pleasant acidity. In coffee, acidity adds brightness and life to the cup. It might remind you of citrus fruits, berries, or wine-like characteristics.
Factors like origin, roast level, and brewing method determine coffee acidity. For instance, Cold brew acidity is lower than hot coffee; cooler water temperature accentuates acidity while hotter water reduces it.
Tip: Lighter roasts will be your go-to if you love vibrant, fruity flavors. Opt for medium to darker roasts if you prefer a smoother, richer cup.
Bitterness
Some bitterness is natural in coffee, but it shouldn't overwhelm. Quality coffee has a balanced bitterness that complements other flavors rather than masking them. However, excessive bitterness can indicate over-roasting or poor extraction.
Key factors include:
- Roast profile – Darker roasts exhibit stronger bitter notes due to caramelization and carbonization.
- Brewing process – Over-extracted coffee (too fine a grind, excessive brew time) intensifies bitterness.
Read more about how coffee roasting affects bitterness levels.
Common Flavor Profiles
As you practice, you start noticing these common taste categories:
Nutty | Almonds, hazelnuts, peanuts |
Chocolatey | Cocoa, dark chocolate, milk chocolate |
Fruity | Berries, stone fruits, citrus |
Floral | Jasmine, rose, lavender |
Earthy | Forest floor, mushrooms, wet soil |
Spicy | Cinnamon, clove, cardamom |
Refine your Coffee Cupping
Like any skill, taste perception improves with practice. Try brewing coffee at least once a week, and you'll be surprised how quickly your palate develops.
Once you are comfortable with basic cupping, experiment with:
- Comparing the same coffee prepared using different brewing methods.
- Tasting coffee at different temperatures as it cools
- Exploring how grind size affects flavor extraction
- Cupping coffees from different origins side by side
- Use a coffee flavor wheel to help identify specific tasting notes.
Read more about Why Coffee Cupping Is Used in the Industry
Remember, there's no "right" way to experience coffee flavors. While professionals might detect specific notes, your perception is equally valid. The goal is to develop your coffee sensory experience and make informed decisions about your bean purchases.
Most importantly, have fun with it. Coffee tasting should be enjoyable, not intimidating. With time and practice, you'll develop a deeper appreciation for the complex world of coffee flavors, one cup at a time.
Ready to take your coffee experience to the next level? Explore Solai Coffee and start tasting like a pro today!
Tasting Coffee at Home Like a Pro through Cupping